10. Tips & Tricks
10.1. Import backup (restore)
Important
At the moment it is not yet possible to transfer a backup from ginlo to ginlo2. A solution is being worked on.
Until then, use both ginlo versions in parallel and connect both apps .
If you are using an Android smartphone, please copy your backup to your new device first. Only then you can import it to the app.
If you have an iPhone, you can import the backup directly from Apple iCloud when you log in to the app.
10.1.1. Copy backup to smartphone (A)
Connect your smartphone to your computer.
Note
On macOS, please install the AndroidFileTransfer application for this.
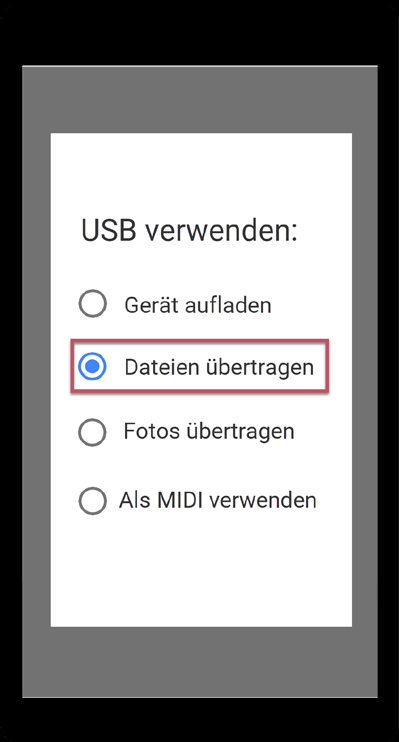
On your smartphone, you may need to allow file transfer. To do this, swipe down on the screen of your smartphone once you have connected it to the computer and tap Transfer Files.
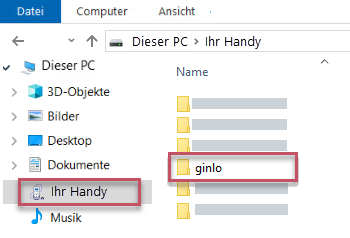
Copy the folder ginlo with your backup from the appropriate location.
Paste it on the top level of the device folder shown for your smartphone.
Hint
Alternatively, you can transfer your backup directly from the old phone to the new one via Bluetooth. When saving, please note the point 3 of the above description!
10.1.2. Load backup into mobile app
Install the ginlo app from the store of your choice, proceeding as described in ginlo Private install and initial setup.
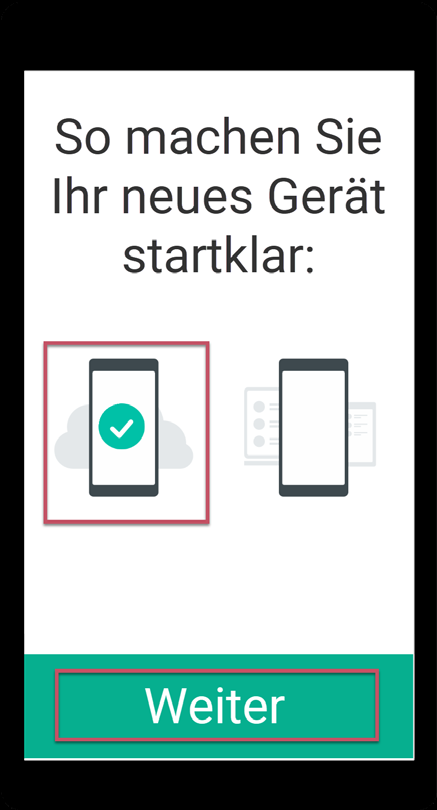
In the app, tap Let’s go and then unconditionally select I already have an account.
Tap on Import backup and confirm.
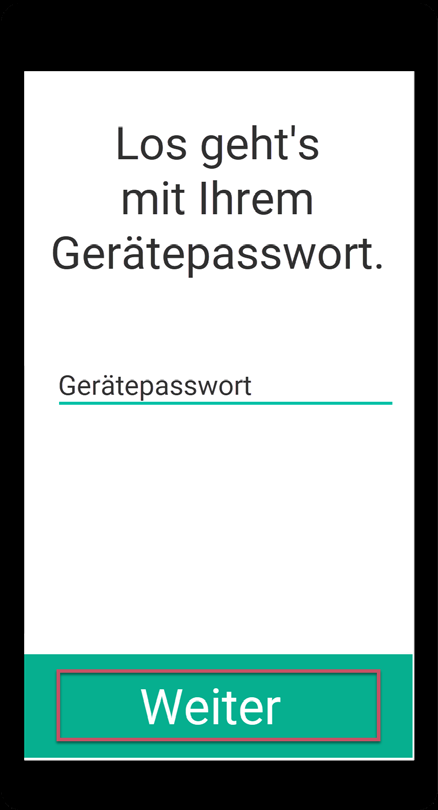
Assign a device password and click on Next, confirm your device password and press Next again.
With this device password all your ginlo content will be encrypted. Remember this password well!
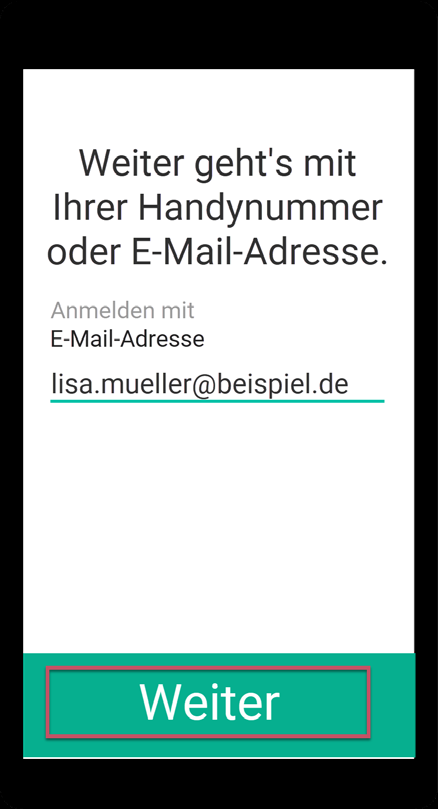
Now enter your registered cell phone number (without leading zero) or your email address. (This data will be used in plain text only to send the confirmation code and will be encrypted afterwards and not stored in our database reproducible for anyone).
A window will pop up All correct like this? - you can still make corrections or confirm the entry with Looks good.
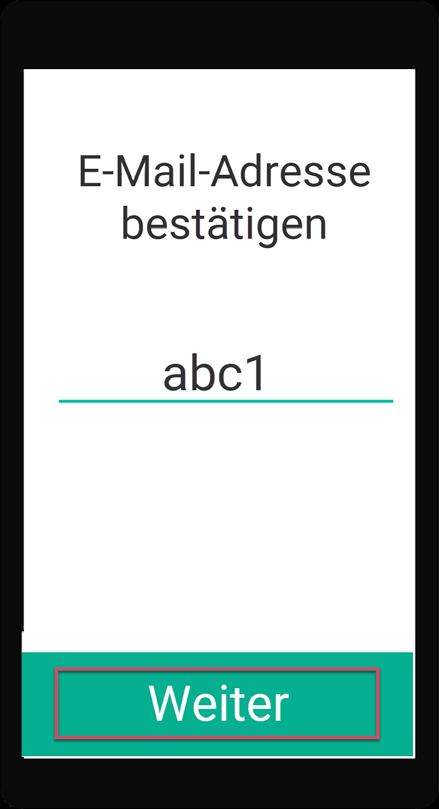
Enter the confirmation code you received via SMS or email and press Next.
If everything has run without errors up to this point, you should now see the message Wonderful, we found your backup.
Select the backup and tap on Import backup. Your selection will be confirmed with a colored check mark. You may need to allow ginlo access to your files to do this.
Enter the backup password that you assigned when you created the backup.


Your contacts and chats will now be imported. Depending on how old your backup is, you can pick up chatting (almost) exactly where you left off on your old device.
Note
After importing a backup, you should create a new backup on your new device!
You can find instructions on how to do this in chapter User Manual for Android or User Manual for iOS under keyword Backup.
10.2. Input field is not shown
If you don’t see a text input line in a chat, you may have blocked the contact.
Unblock them and see Android or iOS.
Hint
For administrators:
Please check in ginlo Management Cockpit under app Settings -> contacts policies -> enable 2nd closed user group if the switch is set to Off.
If this option is turned on, it may cause the text input field to disappear when chatting with users who do not belong to your Management Cockpit.
10.3. Forgot password
If you have forgotten your ginlo password, log in with any password. The option “Forgot password” will appear. Now follow the further steps.
Be sure to create a backup afterwards. You can find instructions on how to do this in the chapter User Manual for Android or User Manual for iOS under the keyword Backup.
10.4. Upgrade from ginlo Private to ginlo Business
You can run ginlo Private and ginlo Business in parallel on one phone and get two separate ginlo IDs.
On Android you can turn a Private account into a Business account, but you have to create a backup first.
On your smartphone, navigate to the My Files folder and open the Internal Storage of your Android device.
Select the ginlo -> Backups folder and tap on the folder with your ginlo ID. You will be shown the file B2C_ginlo-backup.zip.
Tap on the edit menu in the top right corner.
Select Edit and after selecting your backup file Rename.
Now change the name of this file from B2C_ginlo-backup.zip to B2B_ginlo-backup.zip.
This way during the installation of ginlo Business under the option I already have an account and entering your original ginlo ID the backup can be found and imported.
On i-Phones this procedure unfortunately only works in a roundabout way and not completely because of the storage of the backup in the i-Cloud!
Therefore, temporarily install ginlo on a Android device and pair it as a second device. It is best to use your ginlo ID for this! Now create a backup on this device and proceed as described above for Android users. If the migration was successful and your backup was imported, you can install ginlo Business on your i-Phone, continue with I already have an account and integrate your i-Phone as a second device. Use your ginlo ID as well. All data that is not older than 90 days will be synchronized.
Note
However, a (single) Business account has no possibility to be switched to ginlo Private after the end of the test phase!
Hint
If you have registered the business account under the same cell phone number as your private account, your old account has been overwritten and is unusable. There are some warnings about this during the registration process. In this case, you will also not be able to import the backup file anymore, because it can always be used only with the same ginlo ID.